Transforming your garden into a butterfly and bee haven not only adds vibrant beauty to your outdoor space but also plays a crucial role in supporting pollinators and biodiversity. By intentionally transforming your garden into a haven for butterflies, bees, and other wildlife, you not only enhance its beauty but also contribute to the health of our planet. In this comprehensive guide, we’ll delve into a variety of DIY strategies to create a welcoming habitat for these essential pollinators and promote biodiversity in your outdoor space. From selecting the perfect flowers to crafting homemade nectar feeders and providing shelter, let’s embark on a journey to cultivate a flourishing garden ecosystem together.
1. Choosing Pollinator-Friendly Flowers:
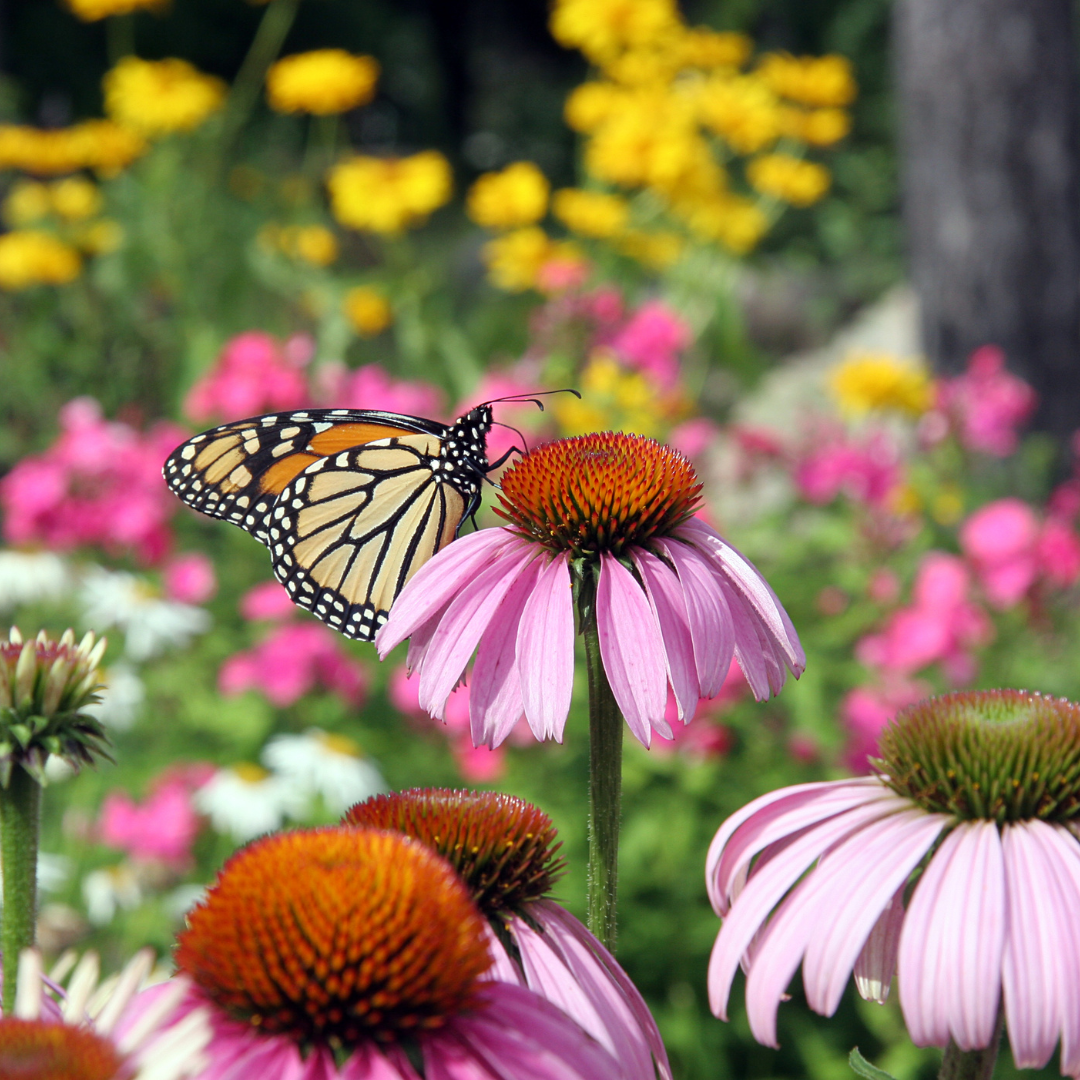
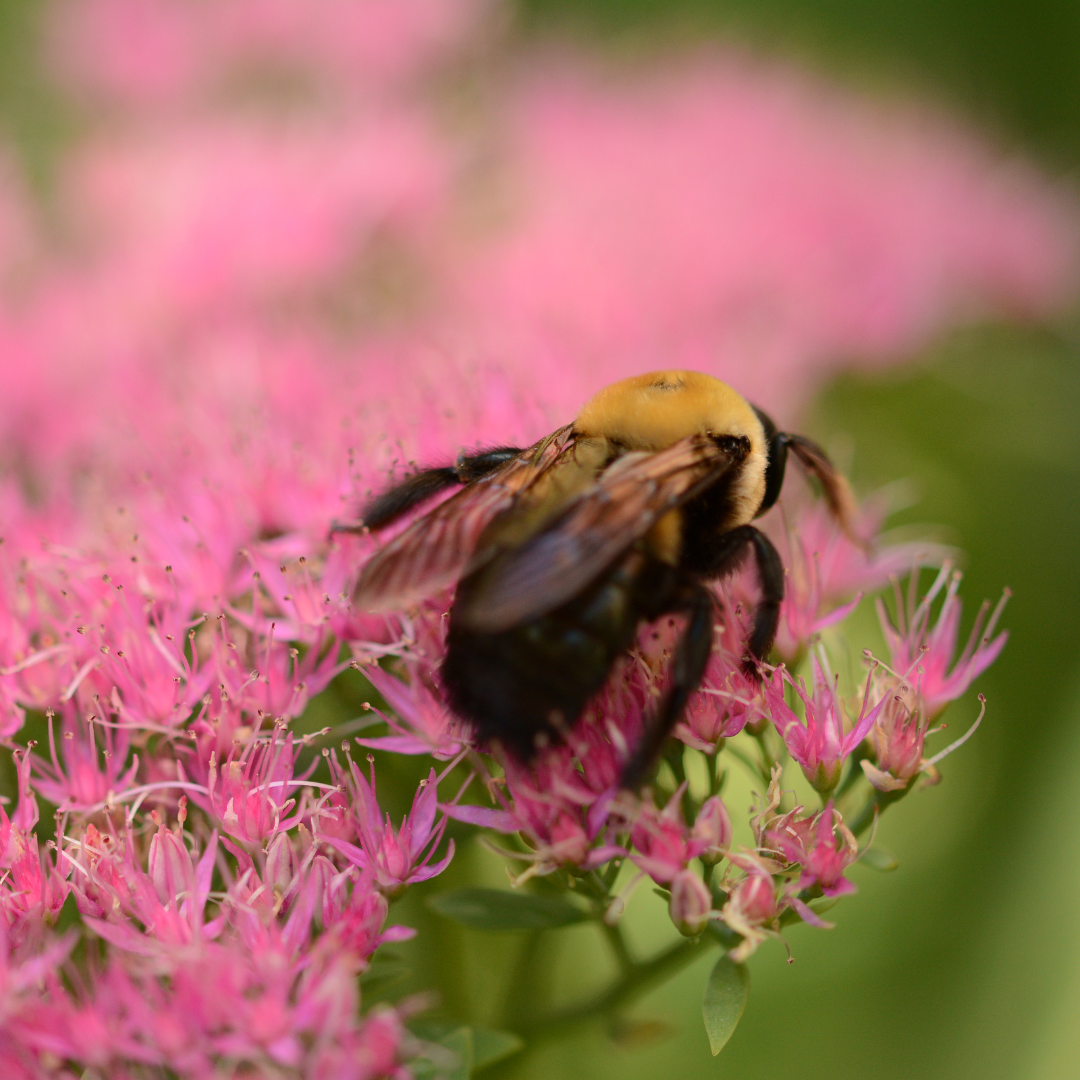
Pollinator flowers are not just a beautiful addition to your garden; they are essential for maintaining the health and vitality of ecosystems around the world. By attracting pollinators such as bees, butterflies, birds, and bats, these flowers facilitate the pollination process, which is necessary for the reproduction of many plant species. This, in turn, supports the growth of fruits, vegetables, nuts, and seeds that form the foundation of our food supply.
Selecting the right flowers is key to attracting and nourishing butterflies, bees, and other pollinators. Opt for a diverse array of nectar-rich blooms that provide food throughout the growing season.
Some top choices include:
- Butterfly Bush (Buddleia)
- Coneflower (Echinacea)
- Lavender (Lavandula)
- Black-eyed Susan (Rudbeckia)
- Bee Balm (Monarda)
- Milkweed (Asclepias)
- Phlox
- Liatris
- Sunflowers (Helianthus)
- Zinnias
Step-by-Step Guide to Planting Pollinator Seeds:
Materials Needed:
2. DIY Nectar Feeders:
Provide supplementary nutrition for butterflies and bees with homemade nectar feeders. Like any living creature, butterflies and bees require energy to carry out their daily activities, from foraging for food to pollinating flowers. While nectar provides a natural source of energy, supplementary nutrition can help ensure that they have access to the nutrients they need to thrive. By offering supplemental food sources, you can help replenish their energy reserves, especially during times of scarcity or inclement weather.
Here are a few simple DIY ideas:
- Butterfly Puddling Station: Fill a shallow dish with sand and water to create a butterfly puddling station. Add a few rocks or pebbles for perching, and place the dish in a sunny spot.
DIY Guide: How to Make a Butterfly Puddling Station
Materials Needed:
- Shallow dish or tray (ceramic, plastic, or metal)
- Clean sand
- Fresh water
- Small rocks or pebbles
- Optional: decorative elements such as glass beads or seashells
Step 1: Select a Suitable Dish Choose a shallow dish or tray that is large enough to accommodate several butterflies at once. The material of the dish can vary, but it should be sturdy enough to hold water without leaking.
Step 2: Prepare the Sand Fill the shallow dish with clean sand, ensuring that it is evenly distributed and covers the bottom of the dish. The sand provides a textured surface for butterflies to land on and absorb moisture.
Step 3: Add Water Carefully pour fresh water onto the sand, adding enough to create a shallow puddle. The water should be just deep enough to saturate the sand without flooding it. Avoid using chlorinated or chemically treated water, as this can be harmful to butterflies.
Step 4: Arrange Rocks or Pebbles Place small rocks or pebbles in the shallow dish, arranging them in a way that provides perching spots for butterflies. These rocks or pebbles serve as landing pads for butterflies to rest on while they drink from the puddling station.
Step 5: Optional Decoration If desired, add decorative elements such as glass beads, seashells, or colored stones to enhance the aesthetic appeal of the butterfly puddling station. Be mindful not to overcrowd the dish, as butterflies will need space to access the water.
Step 6: Placement in a Sunny Spot Choose a sunny location in your garden to place the butterfly puddling station. Butterflies are attracted to warmth and sunlight, so positioning the station in a sunny spot will increase its visibility and appeal to passing butterflies.
Step 7: Maintenance Regularly monitor the butterfly puddling station to ensure that the sand remains moist and the water is clean and replenished as needed. Depending on weather conditions, you may need to add water more frequently to prevent the sand from drying out.
Step 8: Enjoy Watching Butterflies Sit back and enjoy the sight of butterflies visiting your puddling station to drink and rest. Observing these beautiful creatures up close can provide hours of enjoyment and a deeper appreciation for the wonders of nature.
Note: It’s important to keep the butterfly puddling station clean and free of debris to prevent contamination and ensure the health of visiting butterflies. Additionally, avoid using pesticides or insecticides in the vicinity of the station, as these chemicals can be harmful to butterflies and other beneficial insects.
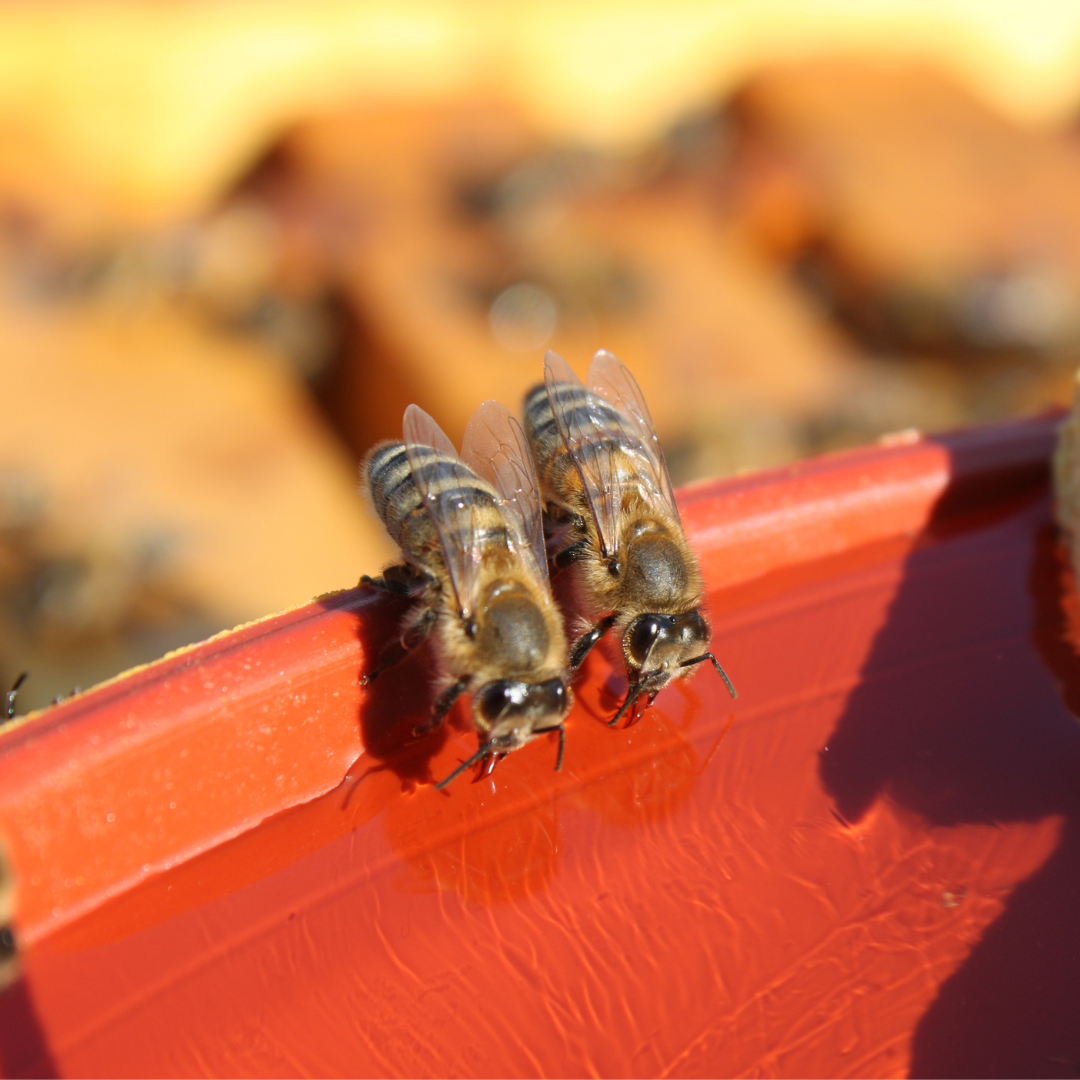
- Bee Waterer: Fill a shallow dish or bird bath with fresh water and add some pebbles or stones to provide a landing spot for bees to safely access the water.
- DIY Butterfly Feeder: Mix together a solution of one part sugar to four parts water and soak a sponge or cotton balls in the solution. Place the saturated material in a shallow dish or butterfly feeder and hang it in your garden.
3. Providing Shelter and Housing:
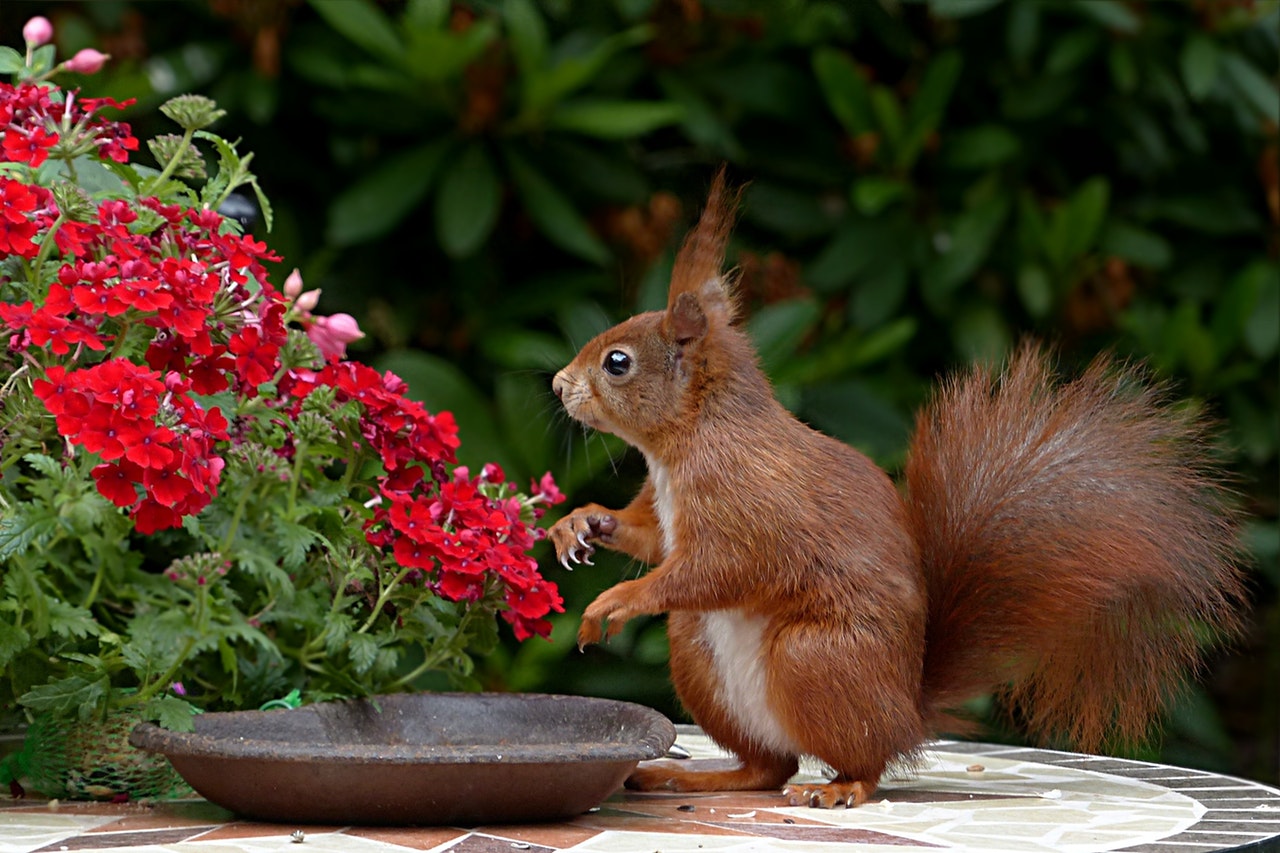
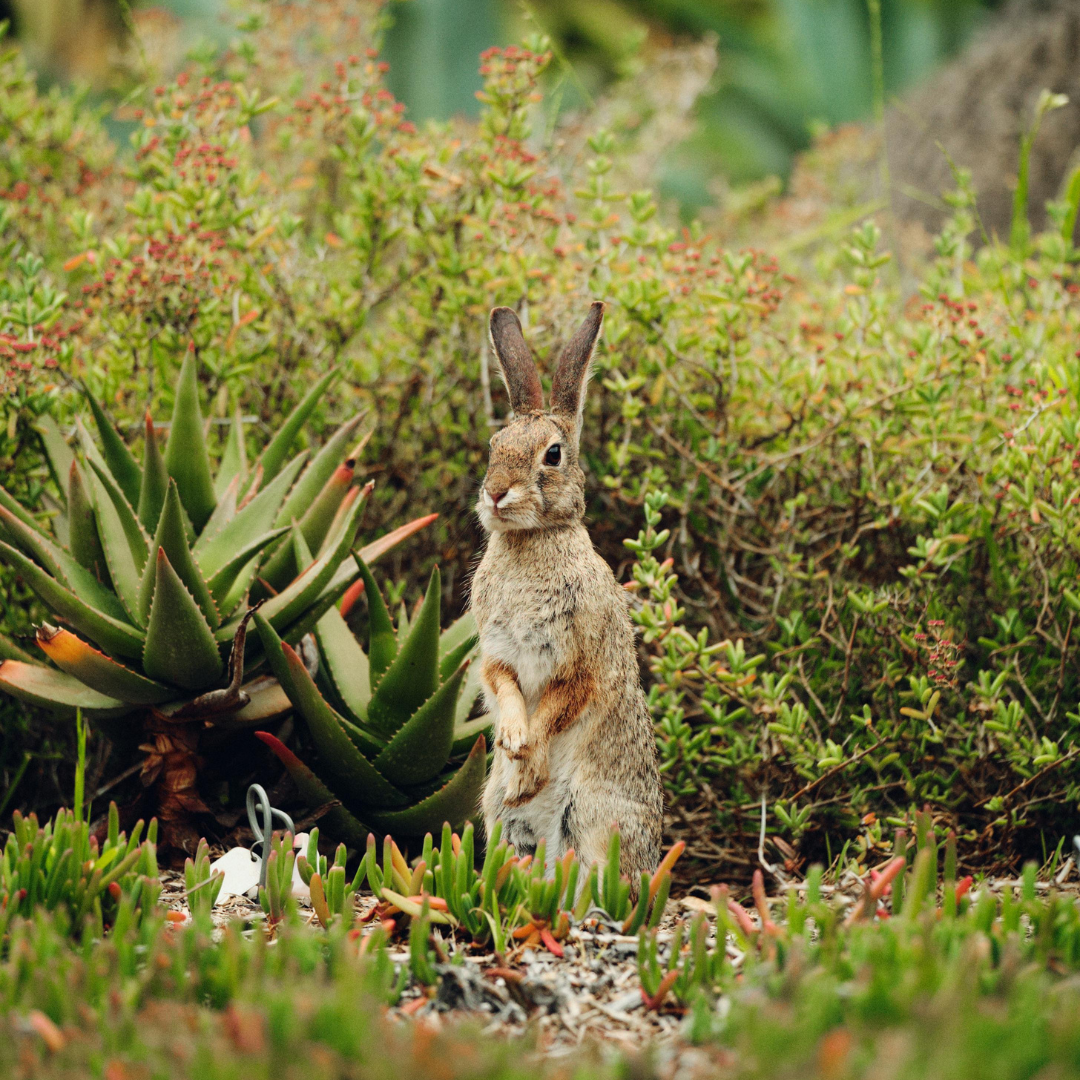
Offering shelter and housing options encourages wildlife to take up residence in your garden. This provides opportunities for observation, education, and appreciation of the natural world. As you witness the comings and goings of birds, bees, and other creatures, you develop a deeper connection with the intricate web of life that surrounds you. By nurturing this connection, you cultivate a sense of stewardship for the environment and a desire to protect and preserve the habitats that sustain it.
Consider the following DIY solutions:
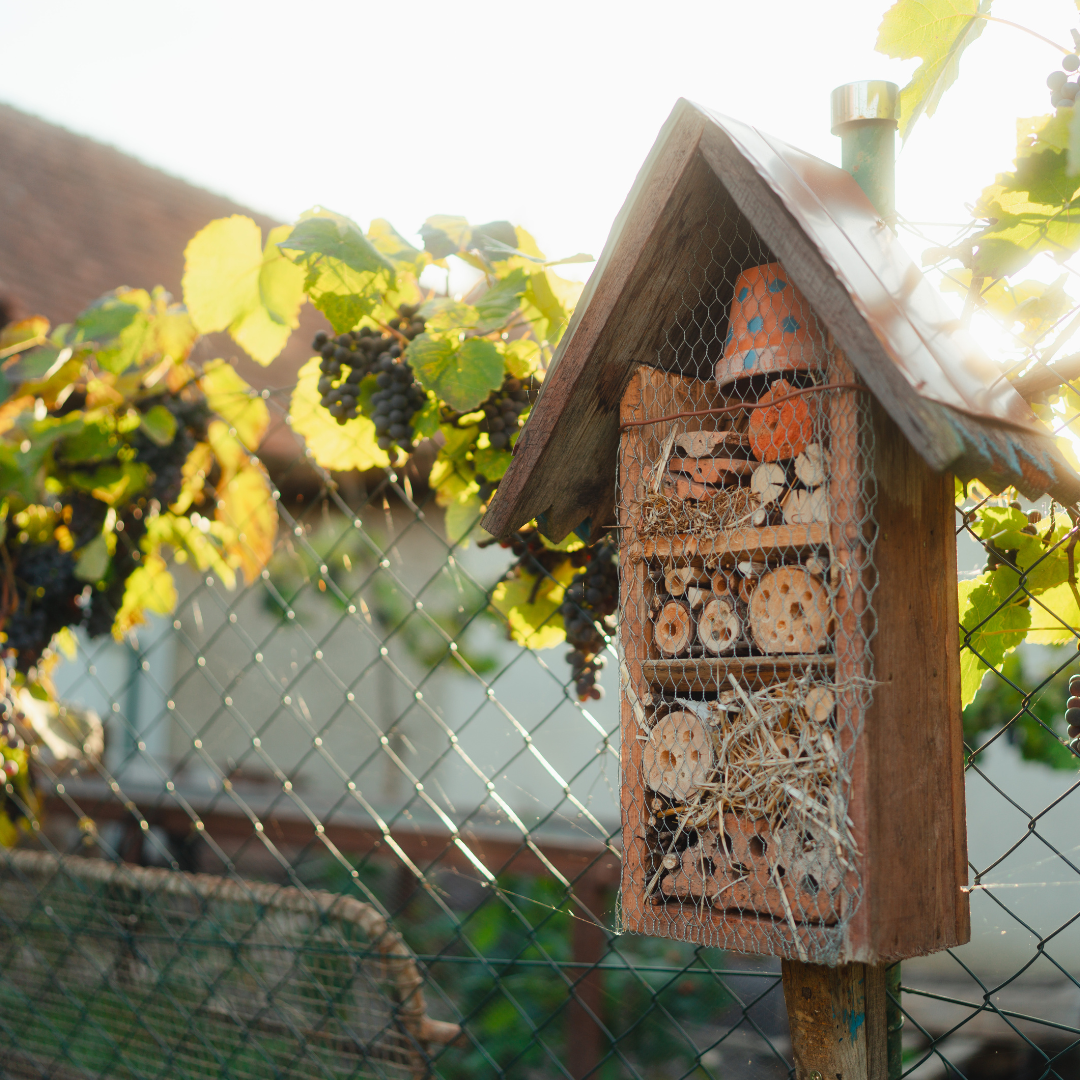
- Bee Hotels: Build a bee hotel by drilling holes of varying sizes into a wooden block or bundle of hollow stems (such as bamboo or reeds). Hang the bee hotel in a sunny, sheltered location to provide nesting sites for solitary bees.
Step-by-Step Guide to Building a Bee Hotel:
Materials Needed:
- Wooden block or bundle of hollow stems (bamboo or reeds)
- Drill with various drill bit sizes
- Hammer and nails or screws
- String or wire for hanging
- Optional: Saw, sandpaper, paint or sealant
Step 1: Choose Your Materials Select a wooden block or bundle of hollow stems, such as bamboo or reeds, to serve as the main structure of your bee hotel. The size and shape of the material will depend on your preference and the available space in your garden.
Step 2: Prepare the Wooden Block or Stems If you’re using a wooden block, you may need to cut it to your desired size using a saw and sand the edges to remove any rough spots. For hollow stems, ensure they are clean and free of debris.
Step 3: Drill Holes of Varying Sizes Using a drill with various drill bit sizes, carefully drill holes into the wooden block or bundle of hollow stems. Aim for holes of varying diameters to accommodate different species of solitary bees. The holes should range from 2mm to 10mm in diameter and be at least 5-10cm deep.
Step 4: Space Out the Holes Space out the drilled holes evenly across the surface of the wooden block or bundle of stems, leaving enough room between each hole to prevent overcrowding. Be sure to drill holes on all sides of the block or stems to maximize nesting opportunities.
Step 5: Secure the Structure Once all the holes are drilled, assemble the bee hotel by securing the wooden block or bundle of stems together using nails or screws. If you’re using a wooden block, you can attach a back panel to provide stability and support.
Step 6: Hang the Bee Hotel Choose a sunny, sheltered location in your garden to hang the bee hotel. Position it at least 1-2 meters above the ground to protect it from predators and ensure it receives plenty of sunlight. Use string or wire to hang the bee hotel securely from a tree branch, fence, or other sturdy structure.
Step 7: Optional: Seal or Paint the Bee Hotel To protect the bee hotel from the elements and prolong its lifespan, you can apply a coat of outdoor sealant or paint. Be sure to use non-toxic, water-based products that won’t harm the bees or other wildlife.
Step 8: Monitor and Maintain Regularly monitor the bee hotel to ensure it remains in good condition and is being used by solitary bees. Check for signs of nesting activity, such as sealed holes or bee larvae emerging. If necessary, clean out any debris or pests that may accumulate inside the holes to keep the bee hotel hospitable for future generations of bees.
By following these step-by-step instructions, you can create a bee hotel that provides nesting sites for solitary bees and contributes to the conservation of these important pollinators in your garden.
- Butterfly Houses: Construct a butterfly house using untreated wood and slats spaced about an inch apart. Position the butterfly house in a sunny spot near nectar-rich flowers to provide a cozy shelter for butterflies during inclement weather.
- Brush Piles: Create brush piles using pruned branches, leaves, and other organic debris to provide refuge for insects, amphibians, and small mammals.
By implementing these DIY ideas for creating a butterfly and bee haven in your garden, you can play a vital role in supporting pollinators and fostering biodiversity. From selecting pollinator-friendly flowers to providing supplemental nutrition and shelter, every action you take contributes to the health and vitality of your garden ecosystem. So roll up your sleeves, unleash your creativity, and let’s work together to cultivate a flourishing habitat for butterflies, bees, and wildlife in your own backyard!
If this blog post has inspired you to embark on your journey to create a butterfly and bee haven in your garden, please consider sharing. By incorporating these DIY ideas into your gardening practices, you’ll not only enhance the beauty of your outdoor space but also make a positive impact on the environment. Happy gardening, and may your garden be teeming with life and color for years to come!