The Ultimate Guide to Creating a DIY Wedding Bouquet
With average wedding costs in the US reaching over $38,000, most brides seek out opportunities to save money whenever possible.
Professional floral arrangements are beautiful but can cost an arm and a leg. Plus, there’s nothing worse than picking up your wedding bouquet only to discover that you’re not as crazy about it as you thought you’d be.
A great way to avoid both high costs and disappointment is to master the DIY wedding bouquet. All you’ll need are the flowers, some inexpensive tools, and a little know-how!
Read on to find out everything you need to know about crafting the DIY wedding bouquet of your dreams.
Pick Up Your Tools
Before you get started, make sure you have everything you’ll need to put together a full, gorgeous bouquet.
Head to a craft store and pick up some ribbon, about 1 to 2 inches wide, in a shade that compliments your wedding colors. More specifically, you’ll want this ribbon to compliment the colors in your bouquet.
You’ll also need a pack or two of straight pins or pearl-tipped floral corsage pins and green floral tape. If you can’t get your hands on any floral tape, you can use rubber bands, instead.
Finally, you’ll need a bucket, some paper towels, and either a stem cutter, a sharp knife, or a pair of scissors. You can also pick up a stem stripper, although this is only necessary if your flowers have thorny stems.
Select Your Flowers
When you skip the professional floral arrangement, you can usually find a flower wholesaler that will offer great prices on their single stems. Alternatively, you can shop from retailers that offer a selection of bouquets at an affordable rate and rearrange as necessary.
Since time is of the essence, you may even want to skip the hunt for florists near you and check out the best online florist in the business!
For the bridal bouquet, you will need 30 to 60 stems. 30 stems of a large, sturdy flower will do but if you want to combine larger flowers with something smaller and more delicate, you will need to up your numbers to create a full look.
If you’re making DIY bridesmaid bouquets, keep in mind that they are usually smaller than the bridal bouquet. For these, you’ll need 20 to 40 stems.
Prep Your Flowers
Before you begin arranging, you will need to prep your flowers. First, strip the stem of any leaves or extra growth. Make sure there are no painful thorns left behind or dying petals that will detract from the beauty of your bouquet.
Next, fill your bucket with water. Cut the bottom two inches of your stems off at an angle. Once the new edge is exposed, hold the stems in the water for a few minutes so that your flowers can freshen up with a good drink.
Keep in mind that you don’t want to cut the stems too short yet, as this will make the construction of your bouquet more difficult. Leave at least two or three inches of excess stem intact and cut that excess off when you’re satisfied with your finished product.
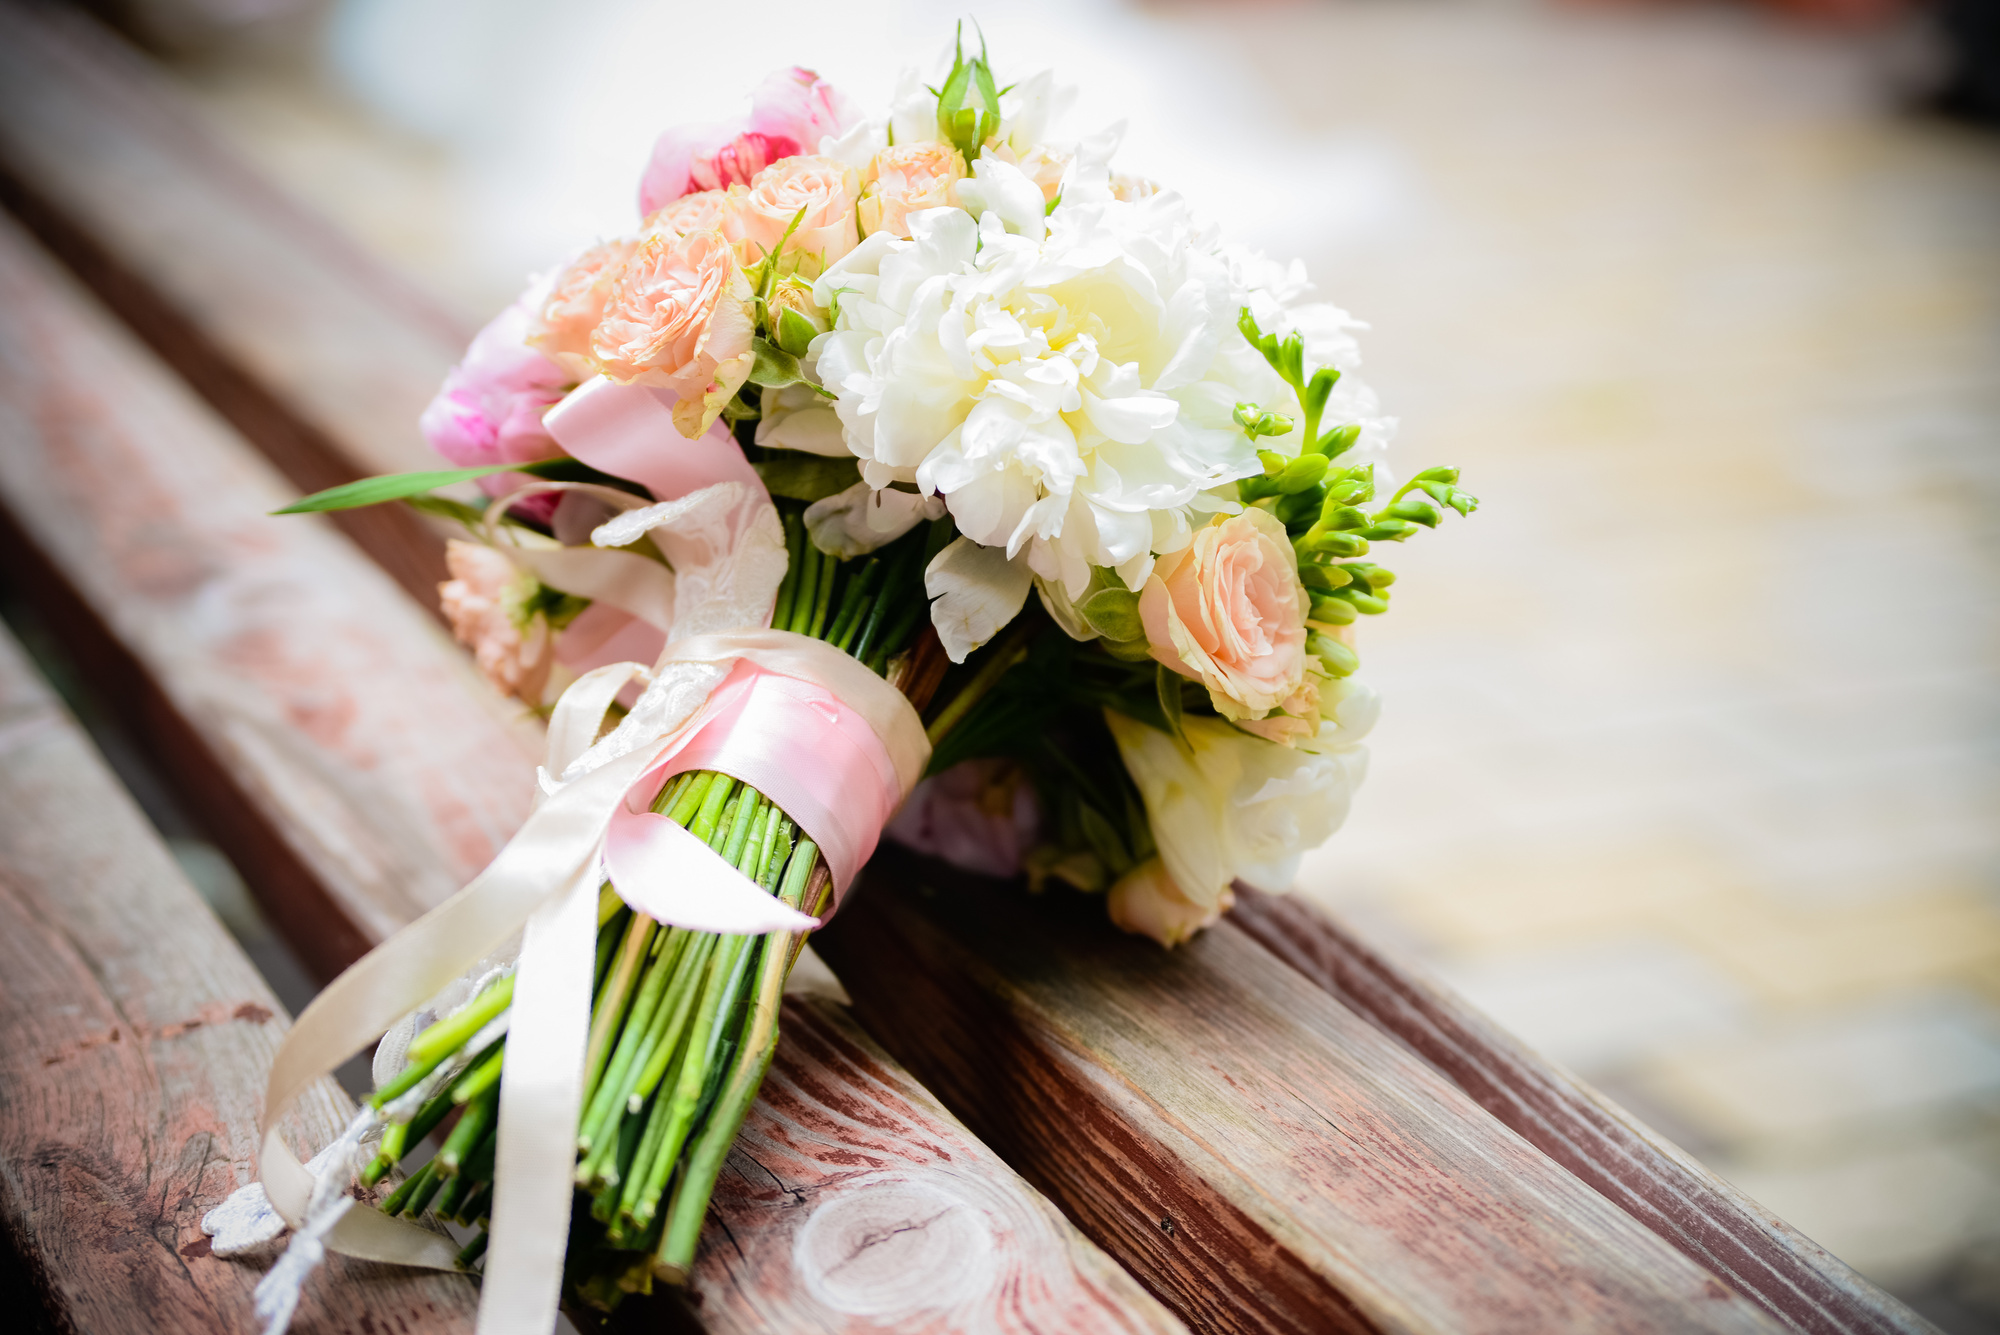
Constructing Your DIY Wedding Bouquet
To create the classic dome shape, begin with four of your larger flowers. In one hand, secure the bouquet as you build it and leave the other hand free to grab more flowers! With the first four flowers, you want to create a square-like shape with the heads.
Once you’ve got your square, build out from it on every side. Keep these four large flowers in the uppermost center of your bouquet. As you continue to add more flowers, you should start to see that dome shape come to life.
If you’re not sure how your bouquet is faring, hold it in front of a mirror. That way, you can see your progress from all sides and make sure that your building your bouquet evenly.
If you have a few long, trailing accent flowers, you’ll likely want to place these last so that they trail from the outermost edge rather than the center. Thin, tall accent flowers can be placed or rearranged near the end of the construction process. These pops of color and texture can add quite a bit of visual intrigue to your wedding bouquet!
Tying It All Together
When you’re happy with your DIY wedding bouquet, use your floral tape to start binding the stems about 3 or 4 inches below the head. Make sure that you’re not wrapping them so tight that the stems break or that your bouquet looks altered. However, you want to make sure that it’s tight enough that everything stays in place.
Continue wrapping the stems until about 4 inches are covered. Don’t wrap the ends that you’re planning to cut off. After you’ve trimmed the edges, you want the stems to be about 6 to 8 inches long so you have plenty of room to hold on!
If at this point, you are a few days away from your big day, you’re going to want to preserve the bouquets. That means you’ll need to hold off on the ribbon and place the untaped ends in water, preferably in the refrigerator. If your tape gets wet, it’s not the end of the world but you will want to replace it later!
Either the night before the wedding or the day of, grab your ribbon and pins to finish off your DIY wedding bouquet. Cut a length of ribbon that is about three and a half times longer than your stem.
Tuck one end of the ribbon into the uppermost layer of tape and wrap it in an overlapping spiral down the stem. You want to cover all of the floral tape with a nice, even layer of ribbon. Snip off any excess ribbon and tuck the bottom edge under the lowermost layer of tape.
Take your pins and stick them through the tucked ends of the ribbon and into the stems. At the very least, you’ll need one at the top of the ribbon and one at the bottom. It doesn’t hurt to add a few more!
Create Something You Love
When you’re making a DIY wedding bouquet, make sure you give yourself enough time and extra materials to go through a trial and error process. In the end, you want to end up with a bouquet you truly love!
For more helpful tricks and style tips, bookmark our page and check back with us often!